Cube mold testing is one of the most reliable methods to check the compressive strength and quality of cement/concrete used in construction. In this guide, you will learn the complete cube mold testing procedure, standard cube mould sizes, curing time (7/28 days), CTM machine used, and result interpretation. Moreover, we also explain cube mould tolerance as per IS standard, because accuracy starts from the mould itself.
What is Cube Mold Testing in Concrete?
Cube mold testing measures the compressive strength of concrete by applying a controlled load to a hardened cube specimen. Engineers use this method to verify whether the concrete meets the required grade and design strength. Therefore, this test plays a key role in QA/QC at construction sites and testing laboratories.
Cube Mould Sizes Used for Cement/Concrete Testing
Testing labs use different cube mould sizes depending on aggregate size and project standards. However, most projects follow the common standard size for consistent results.
Standard Cube Mould Size
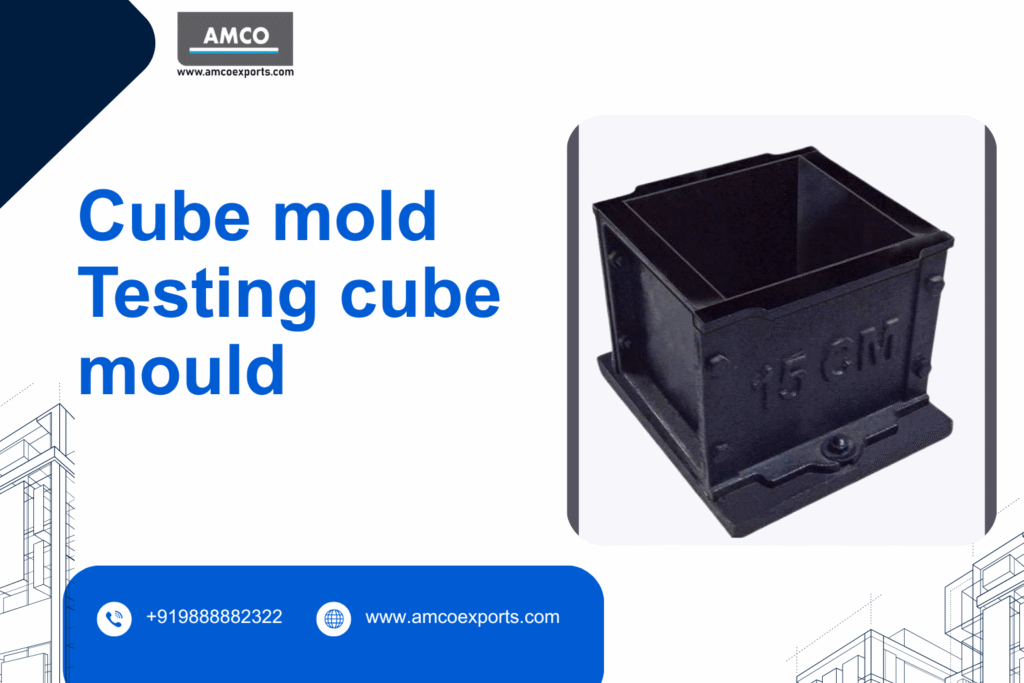
- cube mould 150mm × 150mm × 150mm (most common)
Other Common Sizes
- 100mm × 100mm × 100mm
- 50mm × 50mm × 50mm
In addition, technicians choose smaller sizes for special lab testing or limited sample availability.
👉 For accurate results, use a precision-machined Concrete Cube Testing Mould designed for cube mold testing and compressive strength evaluation.
Cube Mould Tolerance as per IS Standard
Accurate results depend on accurate cube dimensions. Even small variation in internal size can affect the loaded area and final strength value. As a result, labs prefer rigid moulds with precision-machined internal surfaces.
A high-quality cement testing cube mould provides:
- consistent cube dimensions
- smooth demoulding
- reduced leakage during compaction
- reliable compressive strength values
👉 For accurate results, use a precision-machined Concrete Cube Testing Mould designed for cube mold testing and compressive strength evaluation.
Cube Mold Testing Procedure
Step 1: Clean and oil the cube mould
First, clean the mould properly to remove cement dust and rust marks. Next, apply a thin layer of oil on internal surfaces. This reduces sticking and improves cube edge finish.
Step 2: Prepare concrete mix
Prepare concrete as per mix design and ensure uniform mixing. Also maintain the correct water–cement ratio to avoid strength loss.
Step 3: Fill the mould in layers
Fill the cube mould in 2–3 layers depending on lab practice. After each layer, compact properly to remove air voids. Consequently, the cube becomes denser and more uniform.
Step 4: Compaction
Compaction can be done using:
- vibration table, or
- tamping rod (manual)
Most labs prefer vibration tables because they give better consistency. Moreover, proper compaction reduces honeycombing.
Step 5: Level and finish
Level the top surface and mark sample identification details. For example, include batch number, casting date, and mix type.
Step 6: Initial setting
Keep the filled cube mould undisturbed for about 24 hours. Meanwhile, maintain proper room conditions to avoid early cracks.
Step 7: Demoulding
After 24 hours, remove the cube carefully and check the edges. At the same time, ensure the cube surface remains smooth and free from breakage.
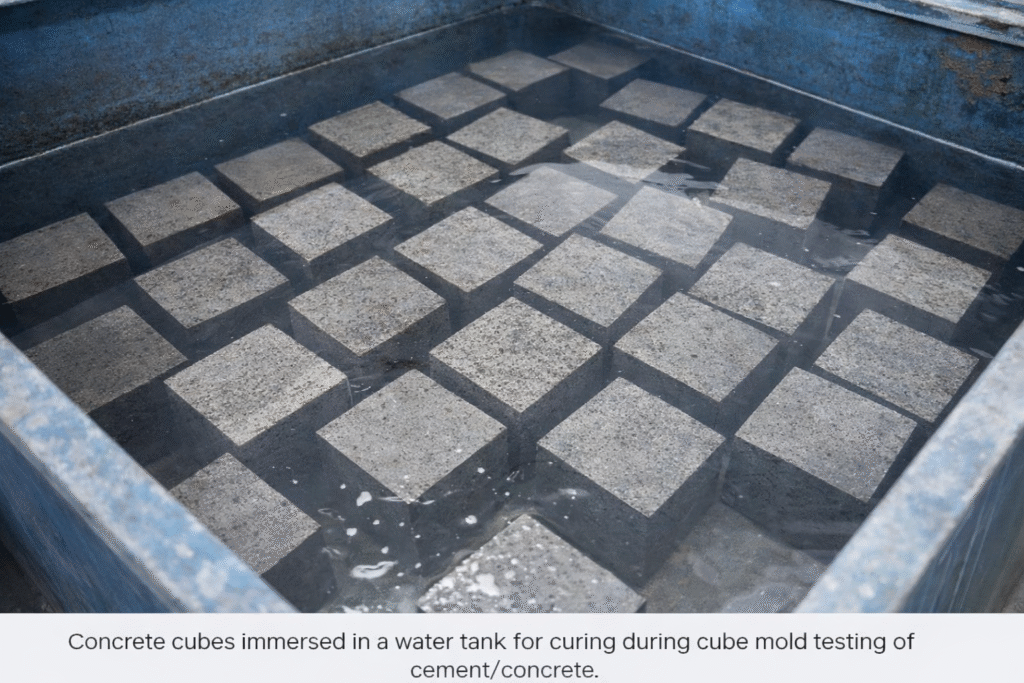
Curing Time for Cube Mold Testing
Curing significantly affects strength gain. Therefore, labs maintain proper curing conditions by immersing cubes in clean water.
Standard curing durations:
- 7 days – early strength result
- 14 days – optional progress check
- 28 days – final strength result
In addition, curing temperature control helps reduce variability in results.
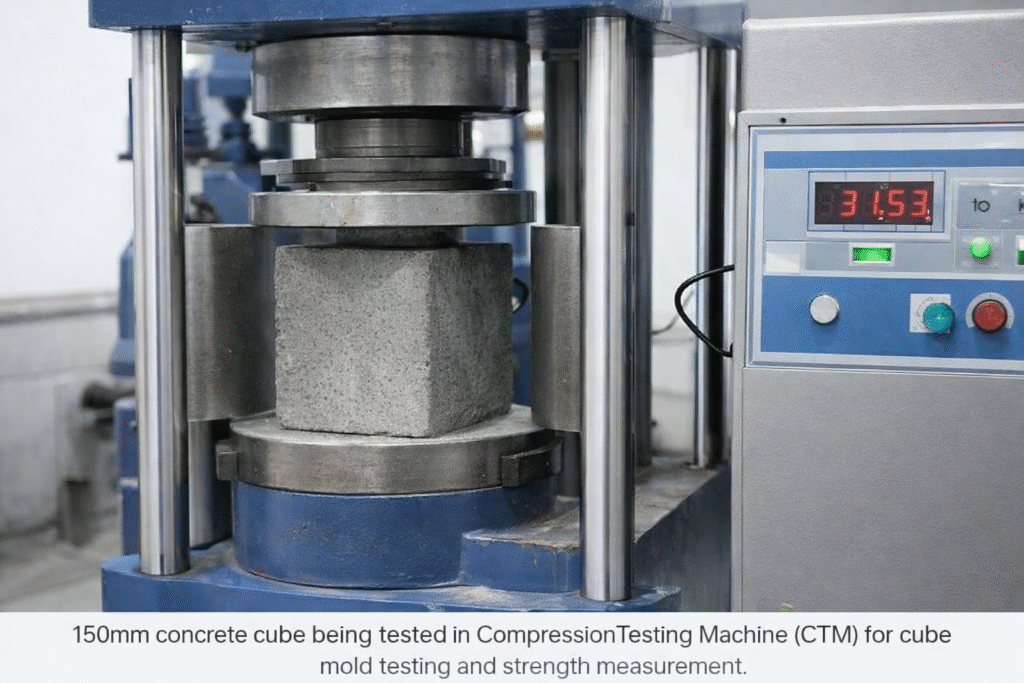
Machine Used in Cube Mold Testing
Labs use a Compression Testing Machine (CTM) to test concrete cube specimens. The machine applies load gradually until cube failure. As a result, the CTM displays the maximum load at the breaking point.
👉 For accurate results, use a precision-machined Concrete Cube Testing Mould designed for cube mold testing and compressive strength evaluation.
Results Interpretation (Strength Calculation)
To calculate compressive strength, divide the failure load by cube face area.
✅ Formula:
Compressive Strength (N/mm²) = Load (N) ÷ Area (mm²)
For a 150mm cube:
- area = 150 × 150 = 22500 mm²
If the strength is lower than expected, check these factors:
- incorrect compaction
- excess water in mix
- improper curing
- damaged cube edges
- poor cube mould tolerance / inaccurate mould dimensions
Therefore, choosing a precise mould from a trusted supplier matters.
Why Cube Mould Quality Matters
A rigid cube mould maintains correct internal dimensions during vibration and handling. Moreover, precision-machined surfaces reduce leakage and improve cube edge finish. High-grade material also increases durability for long-term lab use. Consequently, testing becomes more reliable and repeatable.
If you are sourcing for labs or project QA/QC, choose a verified cube mould manufacturer in India with consistent production quality.
Cube Mould Size, IS Code & Price Guide
Cube moulds are available in different sizes depending on test requirement. The most common concrete cube mould used in construction QA/QC is the Cube mould 150x150mm. However, labs also use Cube Mould 50x50x50mm and 100mm cube moulds for special testing.
During cube mould casting, always use a rigid and precision-machined mould to maintain accurate cube dimensions. In addition, always check cube mould IS code requirements and tolerance to ensure correct results.
If you are searching for cube mould near me or checking cube mould price, choose a manufacturer that provides CI/MS material options, rigid bolted design, and smooth internal finish for long-lasting use.
Outbound Reference Links
For additional standards and testing guidance, you can refer to:
- ASTM C39: https://www.astm.org/c0039_c0039m-23.html
- BIS (Indian Standards): https://www.bis.gov.in/
👉 For accurate results, use a precision-machined Concrete Cube Testing Mould designed for cube mold testing and compressive strength evaluation.
Buy Cube Mould for Cement Testing (150mm) – Manufacturer Supply
👉 For accurate results, use a precision-machined Concrete Cube Testing Mould designed for cube mold testing and compressive strength evaluation.
AMCO Exports supplies cement testing cube moulds in standard and custom sizes with rigid construction and precision machining for accurate cube mold testing.
✅ Available in Cast Iron (CI) / Mild Steel (MS)
✅ Strong bolted frame with smooth machined internal surfaces
✅ Bulk supply for labs, contractors, batching plants & projects
✅ PAN India delivery | Export available
📞 Call / WhatsApp: +91 98888 82322
📧 Email: amcosales1@gmail.com
🌐 Website: www.amcoexports.com
👉 Message us now for latest price + catalog + dispatch time.
FAQ – Cube Mold Testing
Q1: What is cube mold testing in concrete?
A: Cube mold testing is used to measure the compressive strength of cement/concrete. Technicians cast cubes in a standard cube mould (usually 150mm), cure them for a fixed period, and then test them in a Compression Testing Machine (CTM).
Q2: What is the standard cube mould size for cement/concrete testing?
A: The most common standard size is 150mm × 150mm × 150mm. However, 100mm and 50mm cube mould sizes are also used for specific lab requirements.
Q3: What curing time is used in cube mold testing?
A: Curing time depends on the test schedule. Most labs test cubes at 7 days for early strength and 28 days for final strength evaluation. Some projects also test at 14 days.
Q4: Which machine is used for cube compression testing?
A: Cube compression testing is performed using a Compression Testing Machine (CTM). It applies controlled load until the cube fails and displays the maximum breaking load.
Q5: How is cube strength calculated?
A: Compressive strength is calculated using: Strength = Load ÷ Area. For a 150mm cube, the face area is 22500 mm².
Q6: Why is cube mould tolerance important?
A: Cube mould tolerance affects cube dimensions and therefore affects the final compressive strength reading. That’s why labs use precision-machined moulds that maintain tolerance as per applicable IS standards.